 ultimate-guide
Restoring Vintage Car Interior Upholstery: 2026 Guide
Table of Contents
- Why Restoring Vintage Car Interior Upholstery Is Worth the Effort
- Researching Authenticity and Original-Spec Materials Before You Start
- Vintage Car Seat Upholstery Repair: Fixing Tears, Seams, and Worn Bolsters
- Antique Car Upholstery Materials: Leather, Vinyl, Fabric, and What Fits Your Build
- Classic Car Seat Foam Replacement and Cushion Rebuilding
- The Car Upholstery Restoration Process, Step by Step
- Cost Planning, Common Mistakes, and When to Call a Professional
- Frequently Asked Questions
Last Updated: October 14, 2026
Why Restoring Vintage Car Interior Upholstery Is Worth the Effort
Restoring vintage car interior upholstery is one of the few jobs on a classic where the result is felt every time the car is driven.
The economics support doing it properly: a tired cabin drags down the perceived value of everything else, while a well-executed interior makes an honest driver-grade car feel cared for.
This guide covers the full sequence: researching original materials, repairing torn upholstery, choosing between leather and vinyl, rebuilding foam, and working through trim, door panels, carpets, and dash.
Researching Authenticity and Original-Spec Materials Before You Start
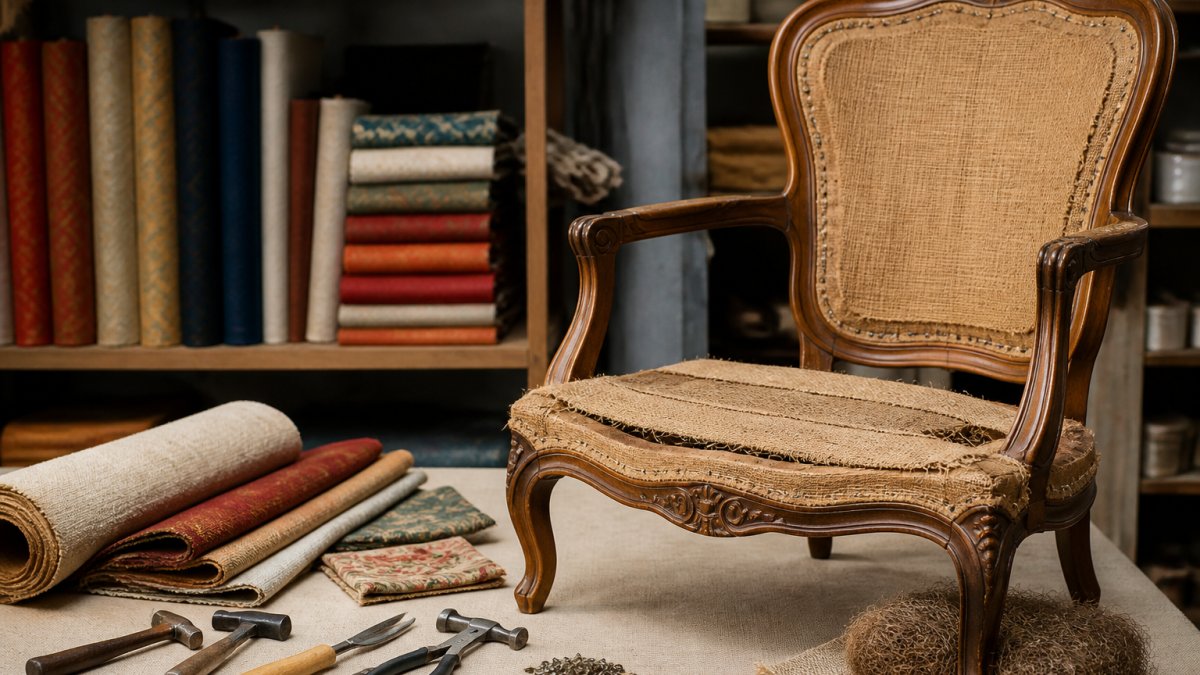
Authenticity research should happen before a single yard of material is ordered.
Start with documentation. Build sheets, dealer literature, and original sales brochures establish what the car left the factory with, while owner forums and marque registries confirm grain patterns and stitch layouts that varied between model years.
The practical distinction is between three targets:
- Original-spec: matched to factory materials, grain, and pattern. Best for cars with any claim to originality.
- Period-correct: materials and colours that would have been plausible for the era, without matching the exact build sheet.
- Modern materials: improved durability and comfort, at the cost of originality.
Decide which one you are building before you buy anything. Switching targets midway is how projects stall.
Vintage Car Seat Upholstery Repair: Fixing Tears, Seams, and Worn Bolsters
Vintage car seat upholstery repair starts with an honest assessment: some damage is worth patching, and some is not.
For small damage, the goal is to stop it spreading. A seam that has let go can be re-stitched if the surrounding material still has strength.
If the material around a tear has lost its flexibility, a repair is a short-term fix and reupholstery is the durable answer.
Inspecting Hidden Seat Structure Before You Re-Trim
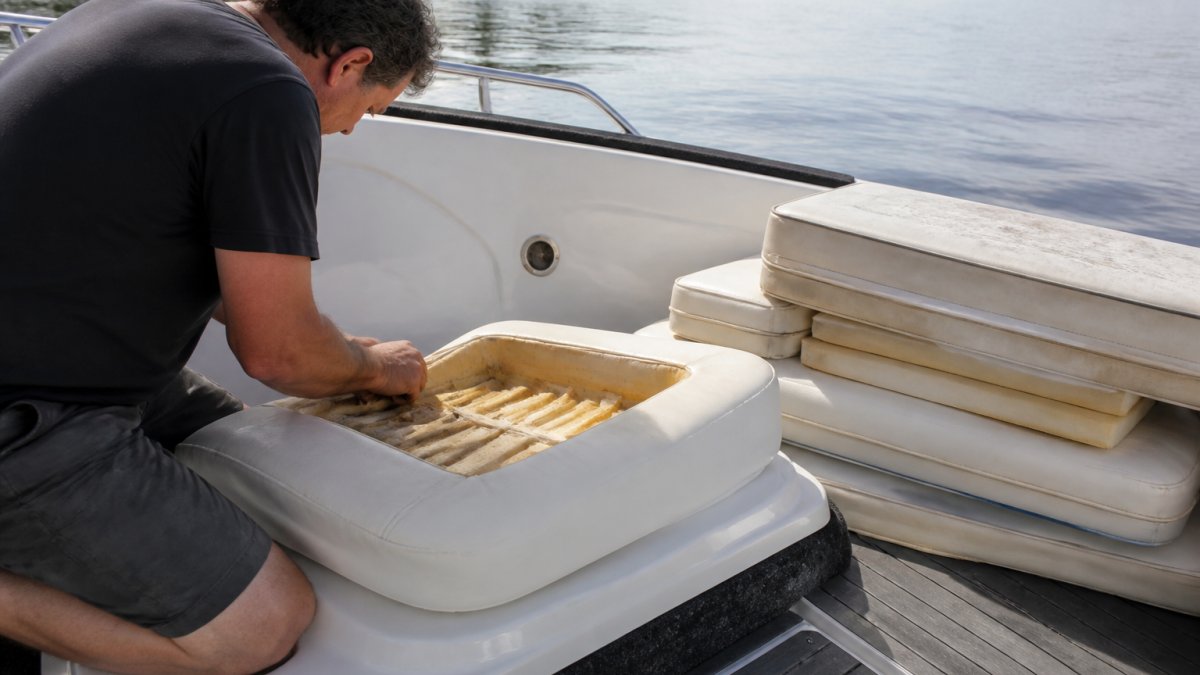
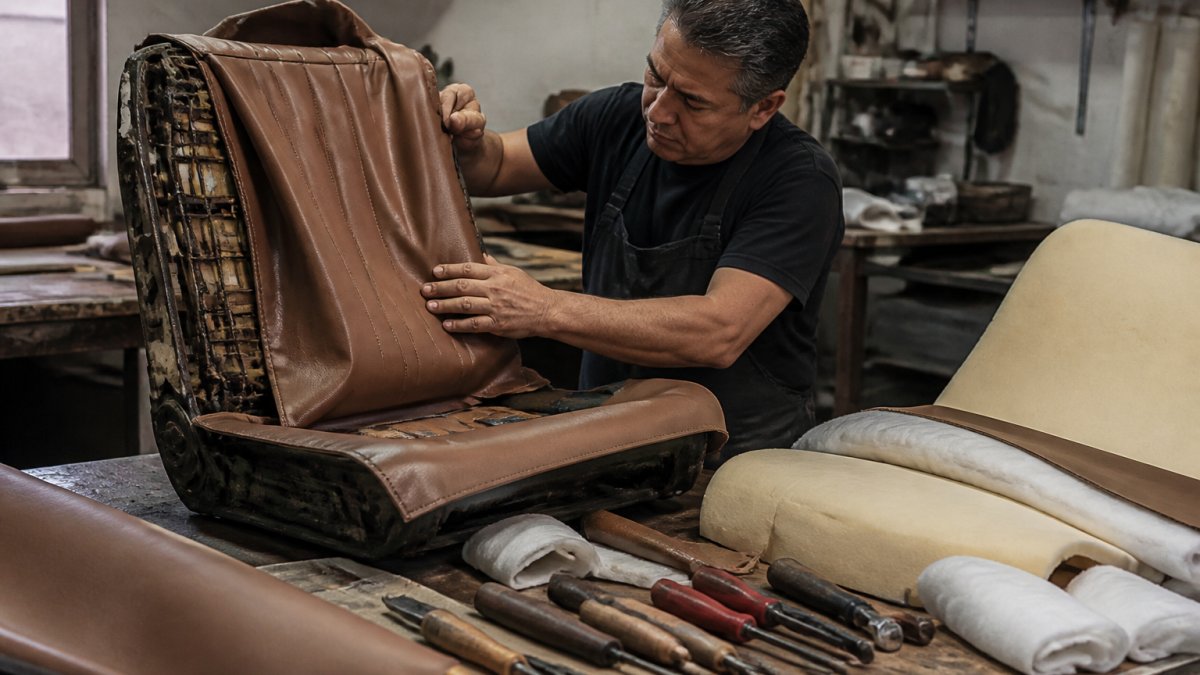
The seat frame is the part nobody sees and everybody regrets ignoring. Before any new material goes on, strip the seat and inspect the frame, springs, and webbing.
Look for rust at the mounting points, broken or sagging springs, and perished rubber or foam buffers. A frame that flexes or creaks will destroy new upholstery from the inside, with failure appearing at the seams first, so repair or replace structural components before trimming.
Antique Car Upholstery Materials: Leather, Vinyl, Fabric, and What Fits Your Build
| Material | Best For | Durability | Maintenance | Climate Fit |
|---|---|---|---|---|
| Leather | Pre-war and luxury classics, indoor storage | High with care | Conditioning, keep dry | Moderate; dislikes freeze-thaw cycling and road salt |
| Vinyl | 1960s-70s cars, regular outdoor use | High, UV-resistant | Wipe clean | Best for humid summers and winter storage |
| Fabric | Period-correct cloth interiors, inserts | Moderate | Stain treatment, gentle cleaning | Comfortable in heat and cold, but fades in strong sun |
| Leather/vinyl combo | Driver-grade classics | High | Mixed care routine | Good all-round compromise |
Leather is the premium option and the correct choice for most pre-war and luxury classics.
Vinyl is the practical choice for many 1960s and 1970s cars, and was the factory material for a great many of them.
Fabric covers everything from period cloth inserts to houndstooth and tweed. It is comfortable in hot and cold weather, but stains, fades, and holds moisture if it gets wet.
Period-Correct Versus Modern Substitutions
The hardest decision is not which family to use, but whether to match the factory material exactly or substitute a modern equivalent that looks close. The practical rule: match the visible surface and pattern, and substitute underneath where nobody looks.
- Grain and pattern: Match the original grain, stitch spacing, and panel layout. These are what the eye reads as "correct."
- Backing and foam: Modern backing cloths, scrim foam, and high-density cushion foam outperform the originals and are invisible once fitted.
- Thread and hardware: Use UV-stable thread and stainless or correctly plated fasteners. Original thread often fails before the material does.
Availability and Lead Time
Availability varies more than most owners expect. Common vinyls and automotive leathers are usually in stock, but period-correct cloth, houndstooth, and marque-specific patterns are often made to order, with a four-to-eight week lead time on specialty cloth and longer if the mill runs the pattern seasonally. Order material before you strip the car so the project does not sit disassembled while you wait.
Matching Material to Use Case
- Trailer-queen show car: Period-correct leather or cloth, exact grain and stitch. Durability is secondary to authenticity.
- Weekend driver, garage-kept: Leather or a leather/vinyl combo. Comfortable, repairable, and holds value.
- Daily-driven classic, parked outside: Vinyl bolsters with a fabric or vinyl insert. Wipes clean and resists UV.
Whichever family you choose, buy the whole interior from one dye lot and one supplier where possible. Mixing suppliers is the most common cause of a cabin that looks almost right but never quite matches.
Classic Car Seat Foam Replacement and Cushion Rebuilding
Classic car seat foam replacement is not optional on most projects, and skipping it is the most common reason a re-trimmed seat still feels wrong.
Rebuilding a cushion means matching the original density and profile, then shaping the foam so the cover fits without wrinkles.
This is also the stage for comfort upgrades that do not change the look: a firmer bolster, a reshaped lumbar area, or a slightly thicker base cushion.
The Car Upholstery Restoration Process, Step by Step
The car upholstery restoration process follows a fixed sequence. Changing the order creates rework.
- Document the original. Photograph everything before disassembly, including stitch lines and panel shapes.
- Remove the seats and trim. Label fasteners and note how each panel was attached.
- Inspect and repair the frames. Address rust, springs, and webbing now.
- Rebuild the foam. Replace or reshape cushions to the correct profile.
- Cut and sew the covers. Match grain, pattern, and stitch spacing to the original.
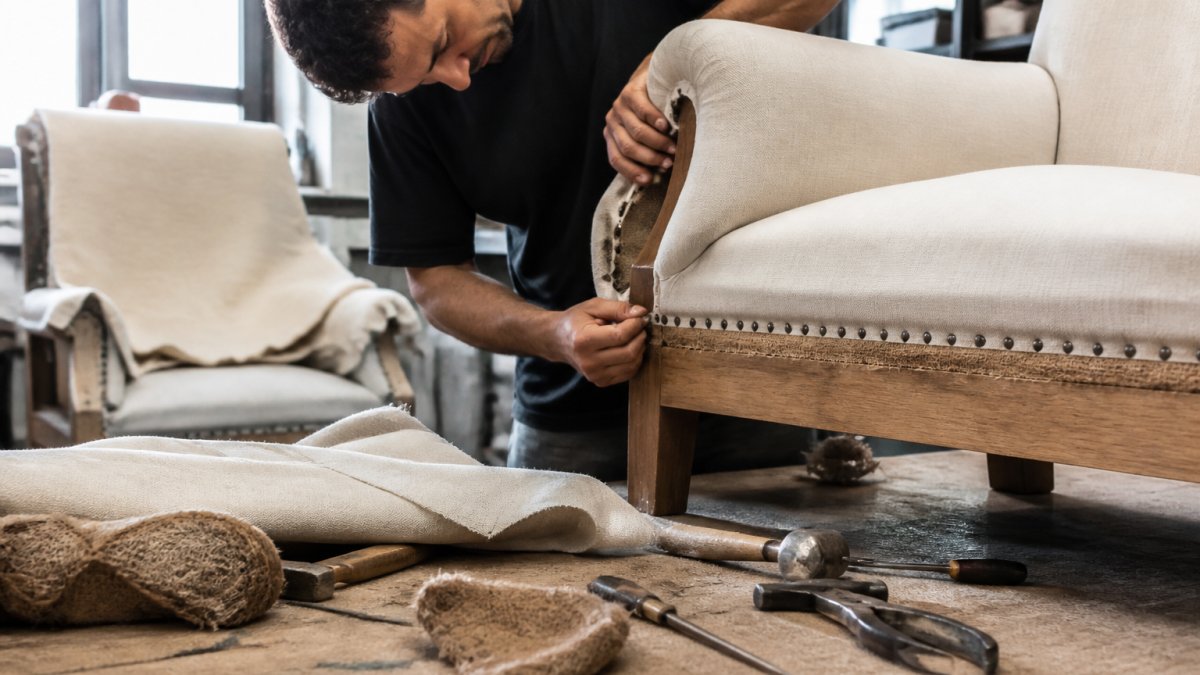
- Fit the covers. Work from the centre outward to avoid stretching.
- Reinstall and align. Refit seats, panels, and trim, checking gaps and fit.
- Clean and condition. Finish leather and vinyl, and treat fabric before use.
Door Panels, Carpets, Dash, and Interior Trim
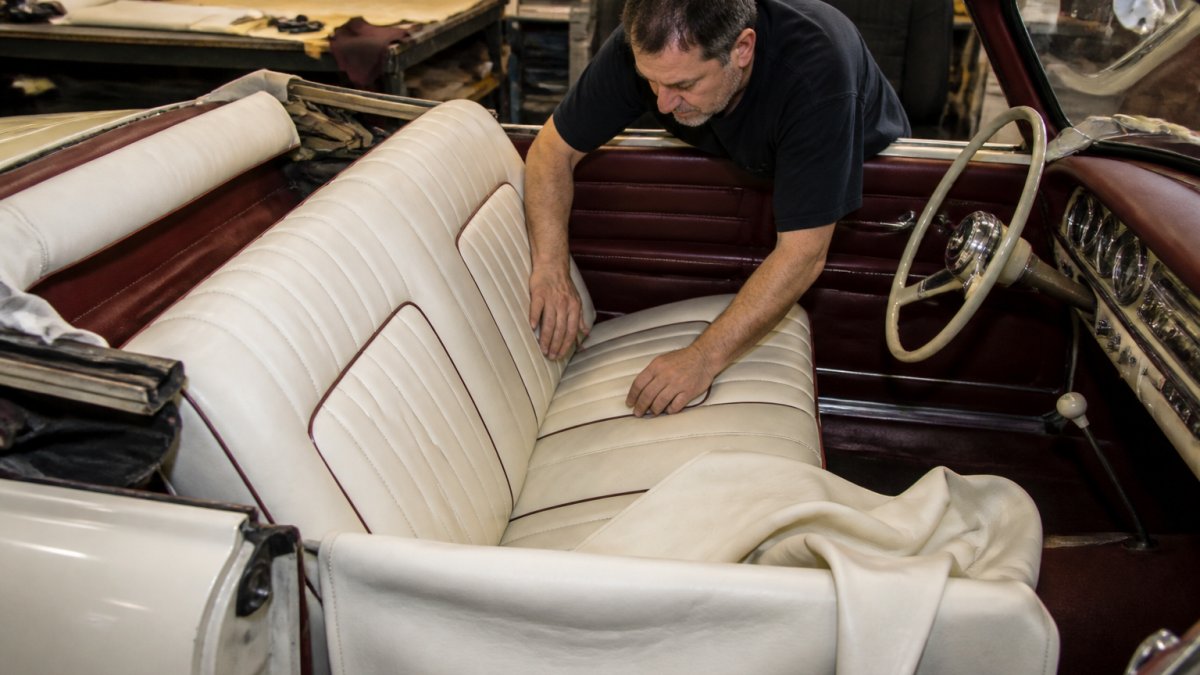
Door panels, carpets, dash, and interior trim are what make a re-trimmed cabin look finished rather than half-done.
Door panels should be rebuilt on new backing board if the originals have swollen or warped from moisture.
The rule we follow is simple. If a panel is visible when the door is open, it gets the same material quality as the seats.
Cost Planning, Common Mistakes, and When to Call a Professional
Cost planning starts with the material, not the labour. Material choice drives the budget more than anything else, and ordering the wrong quantity or grain is where projects go over. Pricing depends on the car, the condition of the frames and foam, and the material you choose. Request a quote for your specific project.
Planning Ranges by Component
| Component | DIY Material Cost (CAD) | Shop-Fitted Cost (CAD) | Notes |
|---|---|---|---|
| Two front bucket seats, vinyl | $600-$1,200 | $1,800-$3,500 | Covers only; foam and frame extra |
| Two front bucket seats, leather | $1,200-$2,500 | $3,000-$6,000 | Leather grade drives the spread |
| Rear bench | $400-$900 | $1,200-$2,500 | Simpler pattern, less labour |
| Door panels, pair | $200-$500 | $600-$1,500 | New backing board adds cost |
| Carpet set, moulded | $250-$600 | $500-$1,200 | Sound deadening extra |
| Headliner | $150-$400 | $500-$1,200 | Labour-heavy on some roofs |
| Dash pad refinish | $100-$300 | $400-$1,000 | Cracks may need filling first |
| Foam and cushion rebuild | $150-$500 | $400-$1,200 | Per seat, depending on shape |
| Frame, spring, and webbing repair | $100-$600 | $400-$1,500 | Highly variable by condition |
What Drives the Number
- Material: Leather can cost two to three times a comparable vinyl. Period-correct cloth is often the most expensive per yard because it is made in small runs.
- Labour hours: A simple bench seat is a few hours; a pleated, tufted, or multi-panel seat can be several times that.
- Pattern complexity: Original pleats, French seams, and contrast piping all add cutting and sewing time.
Timeline
A single seat re-trim is often a weekend job for an experienced DIYer once material is on hand. A full interior is commonly a multi-week project, and specialty material lead times can add four to eight weeks before work even starts. Plan the material order first, then the disassembly, so the car is not sitting stripped while you wait.
DIY Versus Shop: A Decision Framework
Do it yourself if:
- The pattern is simple and the original covers are intact enough to use as templates.
- You have a walking-foot or industrial sewing machine, not a domestic machine.
- The frames, springs, and foam are sound or you are comfortable repairing them.
Call a professional if:
- The work involves structural frame repair or complex pleated or tufted patterns.
- The car's value depends on originality and correct pattern matching.
- You lack the machine or the space to lay out and cut large panels.
The Mistakes We See Most Often
- Ordering material before measuring. Running short mid-project means a dye-lot mismatch on the second order.
- Skipping foam replacement. New covers over dead foam never fit properly.
- Ignoring the frame. Structural problems destroy new upholstery from underneath.
Because pricing depends on the material, the amount required, and the condition of the frames and foam, we quote each project individually. Request a quote with photos and measurements.
Frequently Asked Questions
Can original vintage car upholstery be repaired instead of replaced?
Yes, in many cases. If the fabric or leather is intact across most panels and only seams or small sections are failing, a trimmer can patch and re-stitch rather than re-cover the whole seat. Repair makes sense when the material is still structurally sound and you want to keep the original look. If the backing is crumbling or foam has collapsed, replacement is usually the better route.
What materials are used for vintage car seat upholstery?
The main options are leather, vinyl, and period-style fabrics such as bouclé, tweed, or vinyl-cloth combinations. Leather suits cars where it was original equipment and ages well with care. Vinyl handles sun and spills with less maintenance and can mimic leather grain closely. Fabric matches many 1960s and 1970s interiors. The right pick depends on your make and model, how you use the car, and how closely you want to match original-spec materials.
How do you choose replacement fabric for a vintage car interior?
Start with documentation: build sheets, original brochures, and photos of unrestored examples of your make and model. Order swatches and compare them against your car in daylight, since indoor lighting shifts color. Check grain, weight, and backing, not just color. If originality matters, prioritize period-correct materials over modern alternatives. If durability matters more, a modern vinyl or leather can look close while lasting longer in regular use.
When should vintage car upholstery be restored by a professional?
Call a professional when the seat structure is compromised, when multiple panels need re-stitching, or when you want a period-correct result on a valuable car. Hidden frame damage, broken springs, and collapsed foam are hard to fix well without a proper workshop. A trimmer can also source original-spec materials and get the fit right the first time, which matters if you plan to show the car or keep it long term.
How can you keep a restored vintage car interior looking authentic?
Use original-spec materials, correct stitch patterns, and the right foam density for the era. Match piping, pleat spacing, and hardware finishes to photos of an unrestored example. Avoid modern high-gloss vinyls or foam that sits too firm for the period. Store the car out of direct sun when possible, condition leather twice a year, and clean fabric with a mild detergent. Small details like these keep a refreshed interior reading as original.
What parts of a vintage car interior can be reupholstered?
Almost everything soft: front and rear seats, door panels, headliners, armrests, console lids, kick panels, and carpet. Dash pads and hard trim can often be recovered or refinished too. A full interior restoration usually sequences seats first, then door panels and trim, then carpet and headliner. Doing it in that order keeps the car drivable during the project and lets you match materials across panels as you go.